This orca ade tutorial is a straight replay of my first ten minutes with the app, from a completely cold start.
No prior config, no plugins, nothing installed.
I opened it, set up a project, split the terminal, and had a live preview running before the kettle boiled.
Orca is a free, open-source agentic development environment built for running fleets of parallel coding agents.
If you have ever wondered whether it is actually quick to get going, here is the honest minute-by-minute.
Minute 0: What You Are Actually Downloading
Orca is an agentic development environment.
That is a longer way of saying it is a workspace designed around AI agents rather than around you typing.
You get it from the Orca GitHub repo and download the app like any normal desktop program.
There is no signup wall, because the whole thing is free and open source.
When it opens you see terminals, a live preview and an automation panel.
My first impression was that it looks less like a code editor and more like a control room.
That impression turned out to be correct.
🔥 Want the exact agent setup I loaded into Orca? Inside the AI Profit Boardroom I give members the full Agent OS zip, 1,000+ done-for-you agent workflows, and the free API configs I actually run. Daily tutorials plus weekly live coaching with 2,800+ members. → Get access here
Minute 1: Opening The First Project
You get three ways in and I tried all of them.
You can browse to an existing folder on your machine.
You can clone from a GitHub URL.
You can create a brand-new project from scratch.
The GitHub clone is the one I settled on, because the agent starts with the entire repo in front of it instead of an empty directory.
If you are starting completely fresh with no repo at all, the new-project route gets you moving in seconds and the agent scaffolds everything else.
Minute 2: Starting The First Agent
You open an agent in the terminal and pick which one you want running inside the project.
Claude Code, Codex, Hermes, Kimi, OpenClaw and Antigravity are all options.
You add, enable and disable agents in the settings, so nothing about this locks you into one provider.
I started with Claude Code because it was already installed on my machine.
If yours is not, my guide to running Claude Code for free covers the cheapest way to get a pane filled.
Minute 3: The Split That Changes The Whole Tool
This is where my first session stopped being "another IDE" and started being interesting.
You right-click in the terminal and choose split terminal right, or split terminal down.
I did it three times.
Four agents, one project, all running at once.
I had Claude Code in one pane and Hermes in another, and you could just as easily add Kimi, Codex, OpenClaw or Antigravity to the rest.
Each pane is its own agent, all pointed at the same codebase.
The mental shift here is real.
You stop thinking "what do I ask the model next" and start thinking "who is doing what".
That is a team-lead mindset rather than a prompt-writer mindset, and it is the reason my output per hour jumped.
Minute 4: Getting It Running For Free
I wanted to test whether the free claim holds up, so I ran both routes.
Route 1: Subscriptions you already pay for
If you already have Codex, Claude Code or OpenClaw, connect them and you are done.
Orca itself is free and open source, so you are not paying a penny more than you already were.
For most people that is the fastest path.
Route 2: A free agent plus a free API
No subscriptions? Then you use a free agent with a free API.
In my run I used Hermes with a free API — Ling flash — and it genuinely cost nothing.
People always push back and say it is not really free.
It is. Free agent, free API, free environment.
And here is the part that genuinely surprised me during this first session.
I gave both setups the same prompt — create a beautiful website for an SEO agency — and the free Ling 3.0 output looked a little nicer than the Claude Code version on that run.
One test, one day, not a league table.
But it killed my assumption that the paid pane would always win, and that is worth knowing before you start budgeting.
| What I ran | Agent | API | Cost |
|---|---|---|---|
| Pane 1 | Claude Code | Existing subscription | £0 extra |
| Pane 2 | Hermes | Ling flash (free) | £0 |
| Environment | Orca | Open source | £0 |
Minute 5: The First Live Preview
Writing code is only half of it, and seeing it is where my first session clicked.
You need a localhost URL for the project.
I did not have one, so I asked the agent I was coding with to give me one — and it did, in one turn.
Then you click the plus sign at the top and choose new browser tab.
You paste the localhost URL and the project renders right there inside Orca.
Now you are watching the real site while the agents keep building it.
That is a genuinely different feeling from alt-tabbing to a browser and refreshing.
For mobile app builds you open a mobile emulator instead — an Xcode emulator or an Android Studio virtual device, one of which is required for mobile previews.
For a website, a game or a tool, the browser tab is all you need.
Minute 6: Element Select, And My Favourite Moment
The first time I used element select, I understood why the tool is built the way it is.
I did not like the logo.
Instead of typing a paragraph describing which logo and where, I selected it, pasted it into the coding agent, and gave feedback on that one element.
There is no ambiguity about what I meant.
Nearly every wasted agent turn I have ever had came from the agent editing the wrong thing, and this removes that failure mode.
Minute 7: Annotating The Page
You right-click anywhere on the preview and describe the change you want.
I typed "make the headline bright yellow" and it worked exactly as you would expect.
Then you pick your intent, and this bit is smarter than it first appears.
A command means change this.
A question means what would work better here?
I used questions more than I expected, because on design decisions I often do not have a fixed answer and the agent's suggestion is a decent starting point.
Minute 8: The Annotation Queue
Adding an annotation does not fire it off immediately.
I assumed that was a bug for about thirty seconds, then realised it is the smartest design choice in the app.
You mark up ten things across the page, hit send once, and the agent works through the lot.
No waiting for one change to complete before you can request the next one.
My first batch was six annotations sent in a single pass, and that replaced what would have been a twenty-minute conversation.
Minute 9: The Extras I Found Poking Around
There is more in here than the first session needs, but it is worth knowing what is waiting.
| Feature | What it does | Worth it on day one? |
|---|---|---|
| Orca Mobile | Connects your phone by QR code so you can run terminals remotely | Not day one, but worth trying |
| Automations | Schedules recurring agent tasks like daily project improvements | Yes, once you have a real project |
| Computer use skill | Lets agents control any app on your machine | Yes, this one is the big unlock |
| Orchestration skill | Lets agents coordinate instead of colliding | Yes, once you run 3+ panes |
| Voice | Speak to your agents | I do not use it |
Orca Mobile is the one I am most curious about.
You scan a QR code and can then run your terminals and projects from your phone.
I have not put it through its paces yet, so I will not oversell it.
But I have tried remote coding through other tools and found it underwhelming, and being able to drive several agents across several projects from a phone looks like a better idea.
The automation panel lets you schedule agent tasks — iterate and improve a project every day, or research a topic and draft a post.
The honest catch is that your computer needs to be running for scheduled work to fire.
The two skills install from the terminal by pressing enter.
Computer use lets agents control any app on your machine.
Orchestration lets them coordinate.
If you have not seen that capability before, my post on OpenClaw computer use explains what an agent driving your desktop actually looks like.
🔥 Want the builds recorded step by step? Inside the AI Profit Boardroom I record the whole loop — free API setup, parallel agents, annotate and batch — as follow-along tutorials, plus 5 live coaching calls a week. → Get the free agent build stack here
Minute 10: Where Orca Stops
By the ten-minute mark I had a clear read on what this tool is and is not.
Orca is excellent at being an environment for parallel coding agents.
It is not trying to run your whole business.
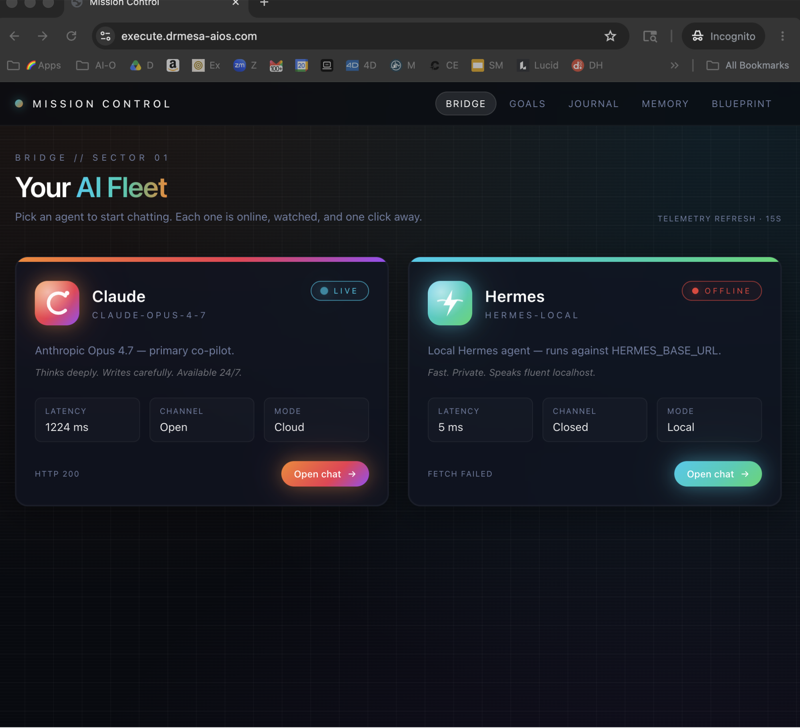
That is the job of an Agent OS — the wider agentic operating system where Hermes runs with shared memory, a mission-control dashboard, and skills for content, SEO, research and publishing.
You use Orca when the work is building software.
You use the Agent OS when the work is running the business around it.
Those two together are the whole stack for me, and both of them can be free.
Frequently Asked Questions
How long does this orca ade tutorial actually take?
About ten minutes from download to a live preview with agents working. The install, project load and first split terminal are all fast, and the only step that can stall you is getting a localhost URL — which you can ask the agent for.
Is Orca really free?
Yes. Orca is free and open source. You either plug in subscriptions you already have, or run a free agent with a free API like Hermes with Ling flash. Neither route adds cost.
Which agent should I start with?
Whichever you already have installed. Claude Code, Codex, Hermes, Kimi, OpenClaw and Antigravity all work, and you can swap them in settings at any time.
Do I need to code to use it?
You need to be comfortable opening a project and describing what you want. The agents do the typing, and the element select plus annotation tools mean much of your direction is pointing rather than writing code.
What if I want to build a mobile app?
You will need an Xcode emulator or an Android Studio virtual device for the preview, as one of the two is required. Websites and tools preview in a normal browser tab.
Do I have to leave my computer on for automations?
Yes. Scheduled agent tasks only fire while your machine is running.
About Julian
I'm Julian Goldie — AI entrepreneur, SEO expert, and founder of the AI Profit Boardroom (2,800+ members). I help business owners scale with AI agents, automation, and SEO.
- 400K+ YouTube subscribers
- 7-figure AI agency (Goldie Agency)
- Daily training inside the Boardroom
- Author of multiple AI automation playbooks
→ Get my best AI training inside the AI Profit Boardroom
Also On Our Network
- 🌐 Read on bestaiagentcommunity.com
- 🌐 Read on aiprofitboardroom.com
- 🌐 Read on aisuccesslabjuliangoldie.com
- 🌐 Read on aimoneylabjuliangoldie.com
Related Reading
- Agent OS — the business layer that sits beside Orca.
- Free Claude Code — fill your first pane without paying.
- Hermes Agent Installation Guide — the free agent I used for the zero-cost route.
- OpenClaw Computer Use — what the computer use skill unlocks.
What I'd Do Differently On My Second Run
I would split the terminal on minute one instead of minute three, because running a single agent in Orca wastes the point of the tool.
I would ask for the localhost URL before writing any code, so the preview is live from the very first change.
I would enable computer use and orchestration straight away rather than discovering them later.
And I would run one paid pane against one free pane on the same brief every time, because that comparison is free information about where to spend.
That is the whole orca ade tutorial, and ten minutes is genuinely all it takes to get going.
📺 Video notes + links to the tools 👉